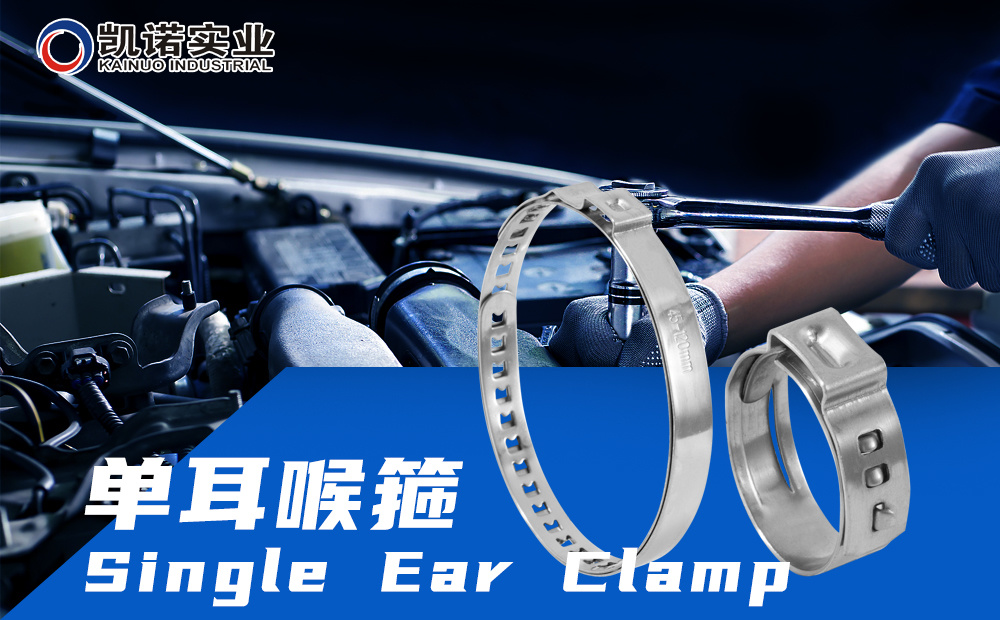
Single ear hose clamp installation and disassembly
Release time:
2024-11-05

The installation and disassembly process of the single ear hose clamp (which may also be understood as the application of the single ear clamp in the throat or similar pipe joints) requires certain professional knowledge and skills. The following are detailed steps and precautions given according to the installation and disassembly method of the general single ear clamp, combined with the characteristics of the throat or pipe joints:
Installation of single ear hose clamps
Preparation stage:
Make sure the work area is clean and ready with the necessary tools and materials, such as single-ear clamps, seals, screwdrivers or wrenches.
Check the condition of the pipe or throat joint to ensure that the surface is smooth and free of damage, and remove any impurities that may affect the sealing effect.
Install the seal ring:
Place the seal on the pipe or fitting, ensuring that the seal ring is positioned correctly and is not twisted or damaged.
Install single lug clamp:
Turn the single ear clamp over so that its inside face is up for better contact with the seal and pipe.
Place the clamp at the pipe joint, making sure the groove of the clamp is aligned with the seal ring.
Using a tool such as a screwdriver or wrench, gradually tighten the clamp until it is properly tightened. In the tightening process, pay attention to even strength to avoid too tight on one side and too loose on the other side.
Check and adjust:
Check whether the rubber ring completely covers the pipe seam to ensure the stable connection and sealing effect of the pipe or throat.
Fine-tune the tightness of the clamp as needed to ensure that the joint is both tight and sealed.
Disassembly of a single ear laryngeal band
Preparation stage:
Make sure the disassembly area is clean and ready with the necessary tools, such as screwdrivers or wrenches.
Understand the safety precautions during disassembly to ensure that personnel and equipment are not harmed during operation.
Release the clamp:
Gradually loosen the fastening screws or nuts of the clamp using tools such as a screwdriver or wrench.
In the process of loosening, pay attention to uniform strength to avoid sudden loosening leading to damage to the sealing ring or pipeline.
Remove clamps and seals:
When the clamp is fully released, remove it from the pipe connection.
Then, remove the seal ring from the pipe or pipe fitting, taking care to avoid damaging the seal ring.
Inspection and cleaning:
Check whether the disassembled clamp and seal ring are intact, if there is damage or wear, should be replaced in time.
Clean impurities and residue from pipe joints in preparation for the next installation.
Matters needing attention
During the installation and disassembly process, follow the relevant safety operation procedures to ensure the safety of personnel and equipment.
Select the right tools and materials to ensure smooth operation.
Before installation, the pipe or throat joint should be carefully inspected to ensure that the surface is smooth and free of damage.
During the dismantling process, attention should be paid to protecting the seals and pipes to avoid unnecessary damage.
After the installation is completed, it is necessary to carefully check and adjust to ensure the fastening and sealing effect of the connection.
Please note that the above steps and precautions are mainly based on the general installation and disassembly method of the single ear clamp, and in combination with the characteristics of the throat or pipe joint. In actual operation, it may be necessary to adjust and supplement according to the specific situation.
Related News


